發表文章

目前顯示的是 3月 1, 2020的文章

Auto flight using a Qualcomm Snapdragon Flight platform (6) - Qualcomm Navigator API examples

圖片
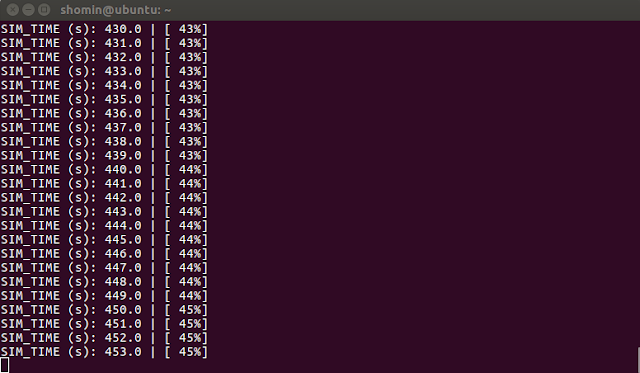
1. Installation $ git clone https://github.com/ATLFlight/snav_api_examples.git $ adb shell "mkdir -p /home/linaro/examples" $ adb push snav_api_examples /home/linaro/examples $ adb shell $ make     2. Running the examples - basic $ start snav (Blue LED will blink) $ ./snav_read_attitude (prints the roll, pitch, and yaw angles) $ ./snav_send_esc_commands_keybaord (spin the motors, and control the motor signals through keyboard command) 3. Running the example - advanced (Using Qualcomm Navigator simulator) $ adb shell $ cd /home/linaro $ git clone https://github.com/ATLFlight/snav_fci.git (target should be switched to station mode beforehand) $ cd snav_fci $ mkdir build $ cd build $ cmake .. $ make -j4 (Open a new command window) $ sudo stop snav $ sudo snav -w 1000 (start simulation environment) (Open a new command window) $ snav_inspector (For observe the live simulated results) $ cd /home/linaro/snav_fci/build/bin $ ./XXX (XXX

Auto flight using a Qualcomm Snapdragon Flight platform (4-2) - MV SDK Camera streaming

1. Setting (1) Stop Snav $ sudo stop snav (2) Run imu_app in the background $ imu_app & 2. Capture images (1)  Create a saving images folder under /home/linaro (Default directory) $ mkdir -p /home/linaro (2) Capture cd ~/ mvCapture -r (hi-res camera) mvCapture -s (stereo camera) mvCapture -o (optical flow camera) 3. Copy image to the host $ adb pull /home/linaro/Record/monoCamera/frame_00000.grayscale.pgm <hostdirectory>

Auto flight using a Qualcomm Snapdragon Flight platform (5) - Navigator SDK

圖片
0. Licensing (IMPORTANCE!) $ adb push snapdragon-flight-license.bin /opt/qcom-licenses/ $ adb shell sync 1. Instllation $ adb shell mkdir -p /data/bin $ adb push snav_1.2.59_8x96.ipk /data/bin $ adb shell opkg install /data/bin/snav_1.2.59_8x96.ipk $ adb shell /etc/snav/enable_snav.sh 2. Configuring Runtime Parameters and run $ vi /usr/lib/rfsa/adsp/200qc_runtime_params.xml Changes configure the hardware for a 3s Lipo Battery. $ adb shell ln -s /usr/lib/rfsa/adsp/200qc_runtime_params.xml /usr/lib/rfsa/adsp/snav_params.xml $ adb shell start snav 3. Sensor Calibration $ cd ~/ snav_calibration_manager -s (Static calibration) $ cd ~/ snav_calibration_manager -t 5 (Thermal calibration) * PX4 is not supported on the 820Pro dev kit. Reference: [1]  https://tech.intrinsyc.com/projects/qualcomm-flight-pro-development-kit/wiki/navigator_sdk [2] Qualcomm® Navigator™ SDK User Guide for APQ8x96 (80-P4698-22 Rev. A ), January 4, 2019

RICOH THETA S camera - getting start with ROS

1. Install dependencies $sudo apt-get update $sudo apt-get install ros-<distro>-usb-cam 2. Turn on device with live streaming mode [1] 3. Create a ROS workspace with source files and build $ mkdir -p ~/RICOH/src $ cd ~/RICOH/ $ catkin_make $ cd src $ git clone https://github.com/ntrlmt/theta_s_uvc $ cd ../dev $ souece setup.bash   4. Check device port and run $ ls /dev/video* $ roslaunch theta_s_uvc theta_s_uvc_start.launch device:=/dev/video0 enable_image_view:=true 5. Display $ rosrun rqt_image_view rqt_image_view $ rosrun rviz rviz Reference: [1] https://support.theta360.com/ja/manual/s/content/streaming/streaming_01.html [2] http://zhaoxuhui.top/blog/2019/10/20/ros-note-8.html